Fabric Covered Notebooks
Visit Our eBay Shop
Here's an easy eco-friendly craft project: transforming fabric scraps into handmade notebooks. Perfect for kids and adults alike, this tutorial guides you through creating personalised fabric-covered booklets using minimal supplies.

Art & Craft Supplies Needed:
This is a brilliant upcycling project and only needs scraps of fabric big enough to wrap around your notebook - if you have a curtain shop nearby go and ask for any sample swatches they might be needing to dispose of!

- A3 paper (to make an A6 booklet) or A4 (to make an A7 booklet)
- A5 ish sized fabric scrap/ swatch non-stretchy
- Fabric glue
- Scissors
- Optional: Ribbon (to keep the booklet closed)
- Embellishments, stickers, pens, pencils, crayons, if you have time to decorate the books
How to Make a Mini Notebook:
Folding the Paper
- Lay the paper flat in landscape orientation.
- Fold the paper in half (so the short sides meet). Crease it well. Unfold it. This creates a vertical center crease.
- Fold the paper in half heightways (so the longer sides meet). Crease it well. Unfold it.
- Now fold each short edge towards the center crease (like closing double doors). Crease well, then unfold. You should now have 8 equal sections.
- Make a central cut:
- Refold the paper in half widthways (Like in step 2)
- Using scissors, cut along the horizontal center crease from the folded edge, but only between the first and last fold lines (so you only cut halfway across)
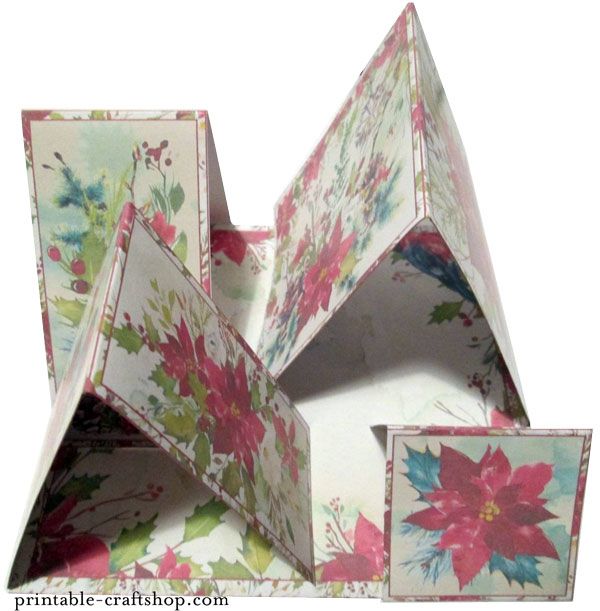
- Unfold the paper again – you’ll see a slit in the middle. - Fold widthways again and push the cut sections apart to form an open diamond shape in the middle.
- Squash the diamond shape closed to form a cross-like structure, then fold the pages around to form a neat booklet.
Your A3 sheet is now a 4-page booklet that flips like a mini magazine!
Creating the Fabric Cover

You can use the booklet as a template to cut your fabric to fit if you like. Make sure the booklet is closed, and fold the fabric over it (maybe keep them together with a paperclip or fabric clip)
Then cut the fabric down to the size of the paper. Do not hold the fabric too tightly against the paper - there needs to be a bit of a gap between the spine and fabric so the booklet opens and closes easily.
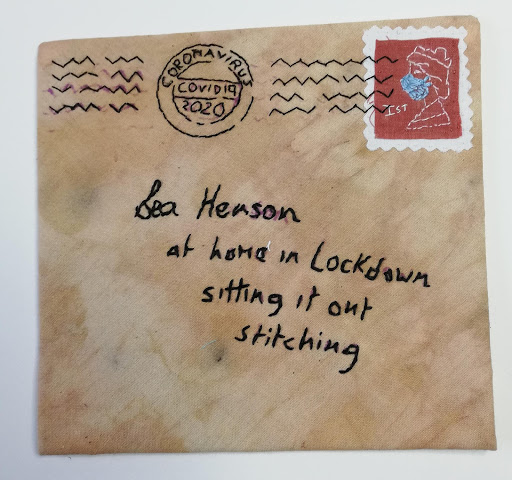
If you have pinking shears, you can get the delightful zigzag pattern on your fabric like ours, that also resists fraying.
If you’re using ribbon, now you can cut enough to wrap around the booklet and tie a bow with. Sandwich this between the fabric and the paper to have just the fabric on show. We added our ribbons afterwards.
To glue everything together, start with the booklet closed.
Make sure your booklet pages are facing the correct way!
Fold back the fabric as though it is the first page, and spread glue lightly and evenly across the paper, especially the corners, to keep it in place.
Now lay the fabric back over the paper as though you are closing the book.
Depending on your glue, you might need to apply a little pressure while the glue dries. Do this for the back page too.
 |
 |
Extend your workshop:
- Get your crafters to make a bookplate for the front page
- Fill in the book like a scrapbook
- Close up the pages with glue, or washi tape along the top and bottom
- Instead of cutting the fabric flush to the paper, leave 2cm extra fabric around the edges, and fold and glue this in. Then using a matching coloured thick paper/card, glue over the page to cover the folded over fabric. This will keep the edges from fraying and strengthen the cover
- Instead of folding a large piece of paper into a small booklet, use four pieces of A5 paper and fold these in half. Measure and make at least three holes down the centre crease, and sew together with strong thread, perle thread or embroidery floss


How our workshop went
We covered the workspace in newspaper to save the table from glue, but actually that meant that folks ended up with ink stains on their pages and fingers.
We set up the tables so that everyone had a piece of paper, ruler, and scissors. Then we set up pens, pencils and stickers along the middle so everyone could reach them.
We spread all the fabric out so that each person could choose their book cover which they liked.

We used swatches donated by Home & Garden,
and paper donated by Pink Pig 🙏
This method of booklet making will teach paper folding techniques used in origami. A range of ages meant that some kids got the hang of the paper folding and others needed some assistance. Turning flat paper into a booklet with pages was like magic for those little ones!
Having a good glue is essential when it comes to attaching the fabric cover, as is making sure your fabric is suitable. Thin, flimsy or stretchy material won’t work as well as you are liable to have the glue seep through if you apply too much. A thick woven upholstery fabric is perfect. Wool tweed or fleece also work, and even teddy fabric or a short pile faux fur could be fun!
We experimented with gluing the ribbon on the outside of the cover, as we had quite plain fabric. Our crafters also decorated their covers with sticky gems, drew round stencils with pens and wrote their names.
We had plenty of time to make booklets and begin decorating them in 90 minutes. Maybe you could make these booklets in one session and use them for scrapbooking or collage workshops another time.
Depending on how much prep time you have and your students’ skill level, you might pre-cut your fabric/ribbon to size and mark your fold lines lightly with pencil.
You Might Also Like:
Self-Care Ideas
Self-care ideas for creative wellbeing e.g. journaling, easy no-sew comfy cushions, dreamcatcher patterns etc
Card Making Tutorial: Acetate Box for Easel Cards
Card making tutorial for making an acetate box lid for a handmade card so you can see the contents. Printables with purpose: crafting for good!
Charity-Backed Activities for the Elderly with Crafty Printables
Liven up the weekly routine of seniors with creative, reusable card-making printables. Catering to a mix of capabilities, it’s an affordable and fun solution!
Art & Craft Ideas: Activity Library
Art and craft ideas: self care activities for groups, adults, elderly, kids
Pop Up Box Cards
Pop up box card designs, tutorials and a template for commercial use if you want to make and sell your own Pop Up Boxes
Weaving The Unremembered
Weaving used to remember The Unremembered from our World War 1 project with Big Ideas
Easy Printable Greeting Card Ideas
Try an easy printable greeting card if you're in a hurry, or new to handmade cards and want something really easy.
DIY Leaf Print Tote Bags Craft Tutorial
Learn to create unique leaf print tote bags with our step-by-step guide using natural materials.
Easy Craft Ideas for Kids - Name Badges & Keyrings
Easy craft ideas for kids at an outdoor gala, making name badges and keyrings


Recent Articles
-
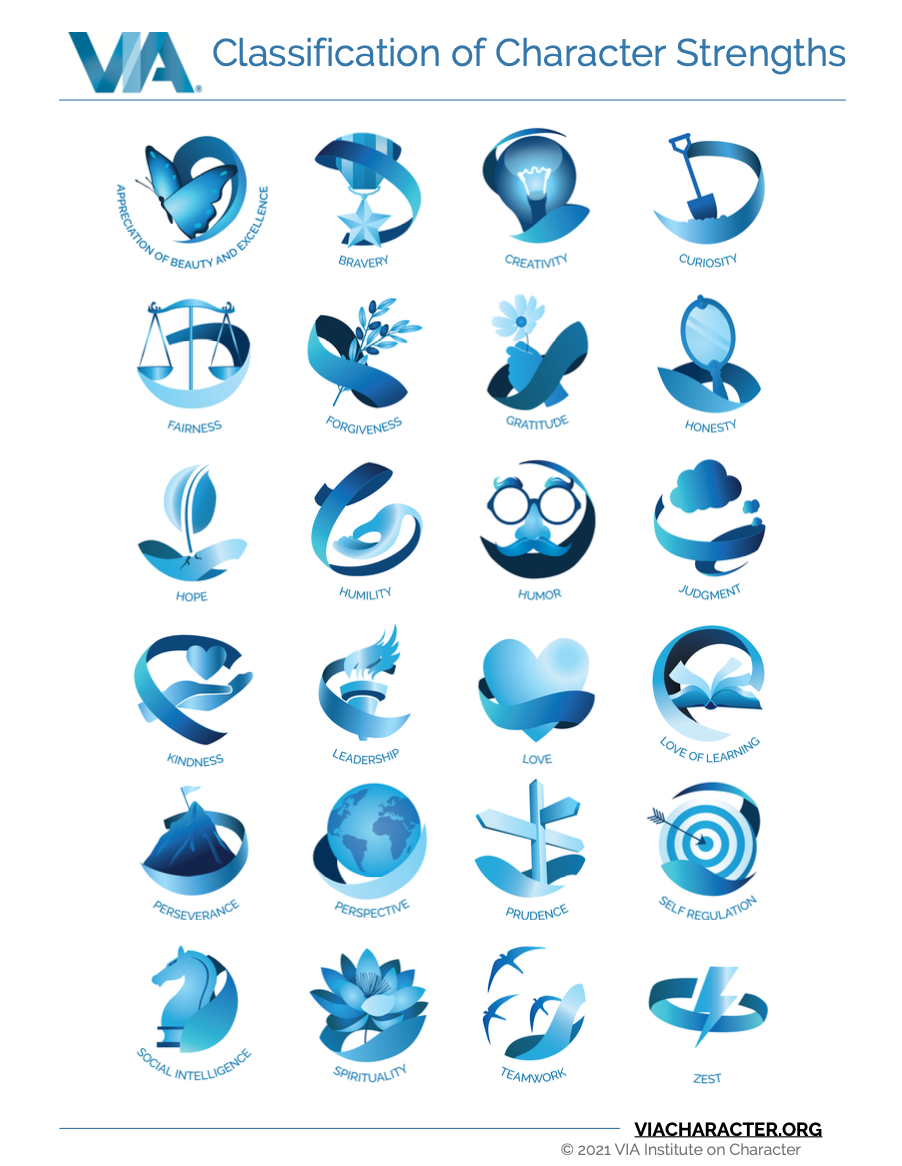
The 24 Strengths of a Person - Discover Yours!
Feb 28, 25 01:32 PM
 The 24 strengths of a person, measured scientifically in psychology, are their 'superpowers' that get them through life
 -
Art & Craft Ideas: Activity Library
Feb 27, 25 04:03 PM
 Art and craft ideas: self care activities for groups, adults, elderly, kids
 -
DIY Paper Pumpkins: Easy Craft Tutorial for Festive Decor
Feb 27, 25 10:58 AM
 Learn to create charming paper pumpkins with our step-by-step guide, perfect for autumn decorations


Crafting4Good CIC is a not-for-profit Community Interest Company, also trading as Crafting for Good, limited by guarantee and registered in England and Wales Company No.10690435.
Registered office: Suite 4, Unity House, Westgate, Wakefield, WF1 1EP