Closing Down
Unfortunately, we're in the process of closing down Crafting4Good CIC after almost
9 years of social enterprise and impact.
Creativity is good for you, but running a busy creative nonprofit on increasingly limited resources is not. As a result the team were stretched, stressed and experiencing the very opposite of "creativity for wellbeing and mental health".
This website *may* stay online under a different name to preserve the legacy and resources created through years of funding with public money.
Easel Card Making Tutorial
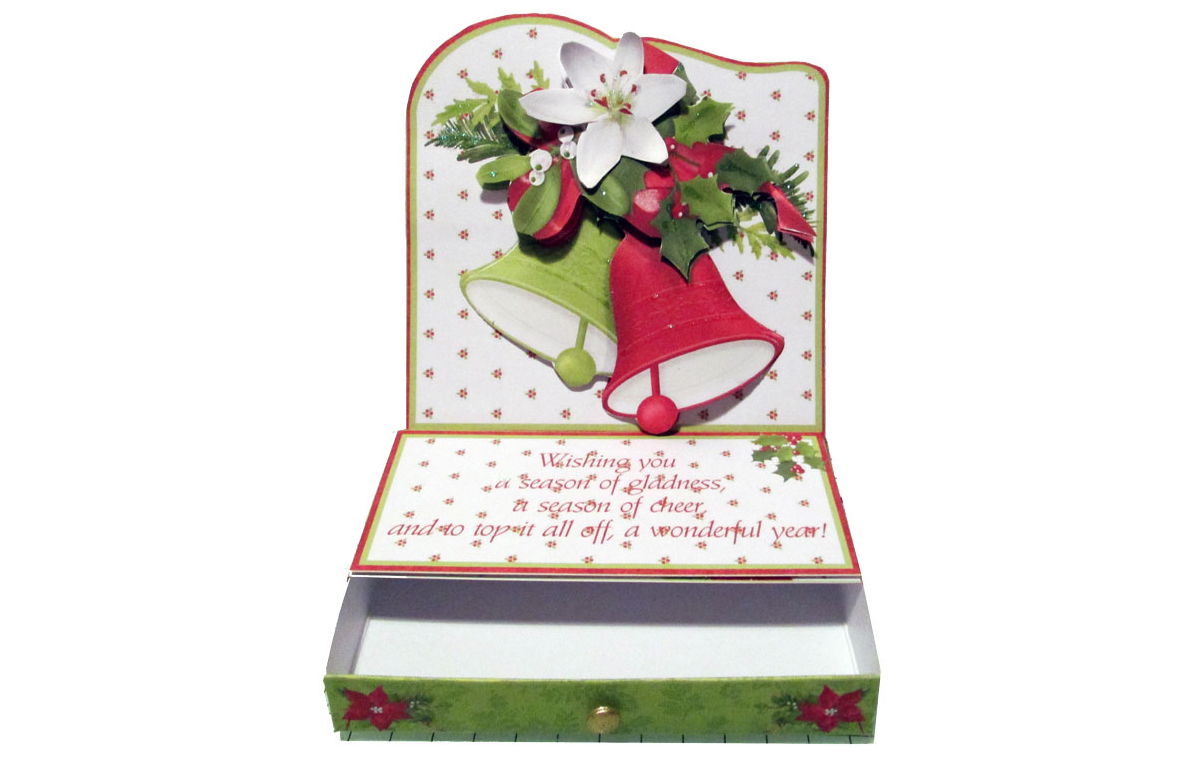
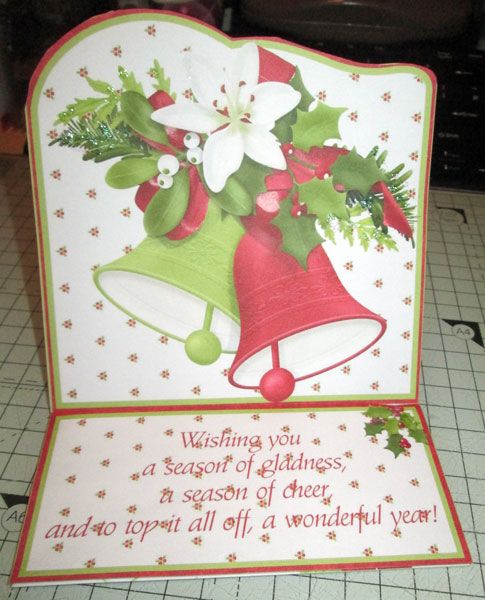
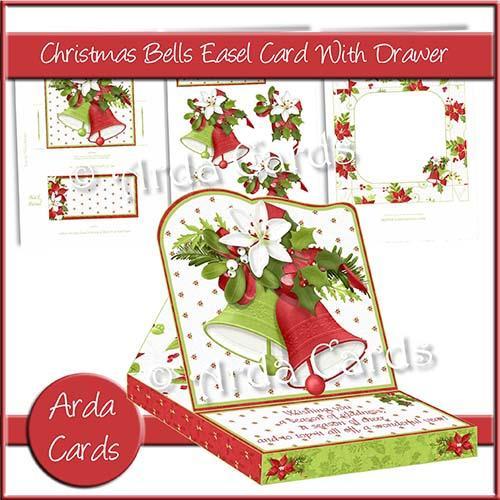
Follow our card making tutorial for putting together printables from the 'Easel Card with Drawer' range; this photo tutorial features the "Christmas Bells" kit, but you will also find a video tutorial for "Santa's Visit" and a quick video demo for "Hootie Holiday" printables, showing how the same instructions apply for all the Easel card kits in this collection. Our lovely Volunteer Crafter, Debbie has kindly contributed the written instructions, photos and video together for us, with the quick 'how to' provided by designer, Arda Cards. The kits are available in a big value bundle or as single kits.
Craft Supplies Needed
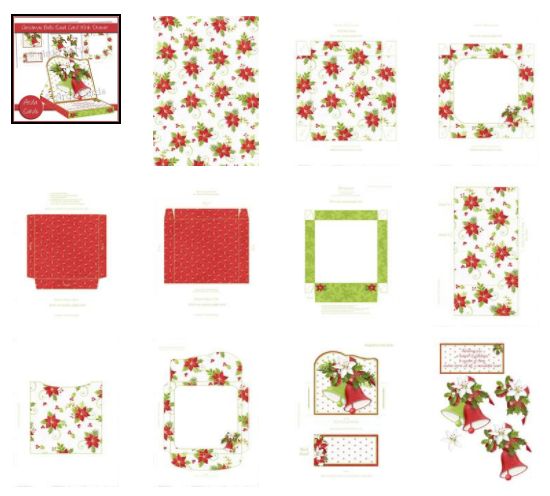
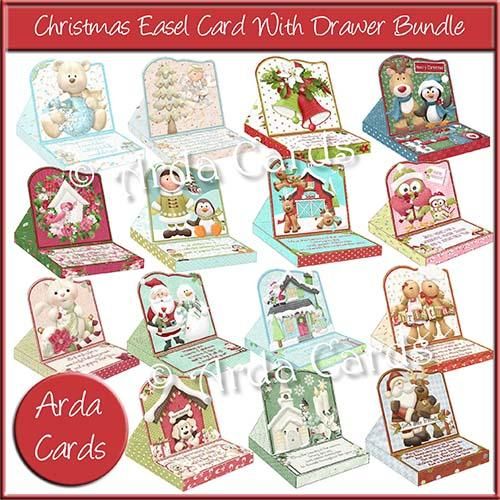
- Christmas Bells Easel Card with Drawer Printable Kit (also available in a value Bundle of 10)
- Glue/tape/3D foam pads for sticking
- Score board/ruler/pencil
- Scissors/trimmer/craft knife & cutting mat
- Brad for drawer
- Print on card stock for all sheets (250 gsm was used here but refer to your own printer capabilities)
Time to Make (after printing sheets needed): Average 20 minutes
Instructions
1. Print out the sheets in your kit (printing the backing paper onto the reverse of sheets with lots of white space, since you can then use the 'waste' for other projects). Then cut and scored where indicated.
- Box base
- Box lid
- Drawer
- Drawer sleeve top
- Drawer sleeve bottom
- Easel card base
- Topper & back panel
- Decoupage sheet & verse
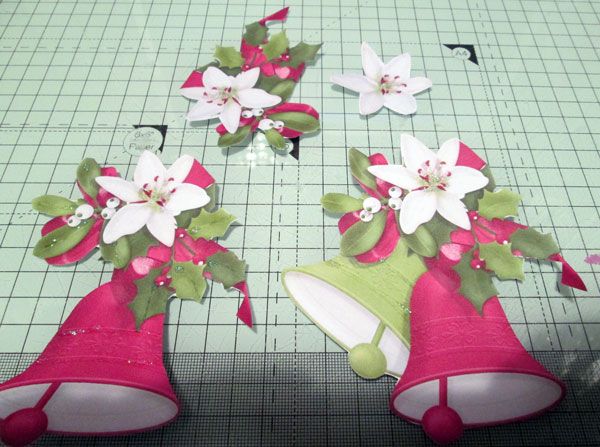
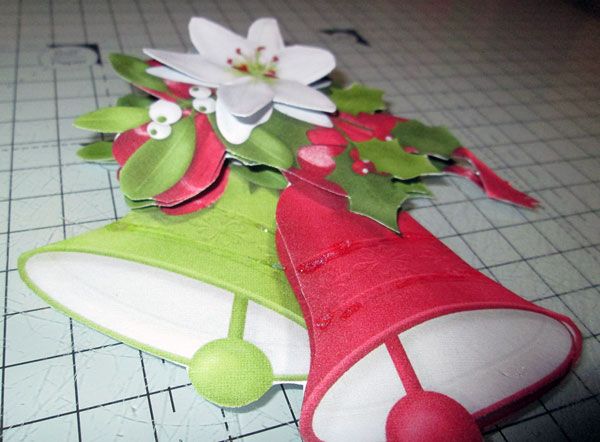
2. After cutting out all pages and scoring where indicated, cut out the flowers and bells decoupage and layer up using 3D foam pads or gel glue ready to stick to the front of the card.
3. On the base easel card, stick the back panel to the reverse of the card as shown. Turn over and stick the topper to the front quarter of the card, and the stopper to the bottom quarter of the card – using 3D foam pads on the back to raise the stopper. Add the decoupage. This is now the easel card all made up – you can stop here if you wish and make up the envelope as send as a beautiful Easel card. Or you can make up the drawer, to make your Easel card have an integral gift box...
4. To make the box, fold the corners in and glue and hold together until set. Make the base and top of the box.
 Making the box for the Easel card by pinching the corners together (mini craft pegs optional but very useful!)
5. To make the drawer and sleeve the easel card sits on, on the drawer, fold in the corners and glue, before folding and gluing in the front tab, using a pokey tool, make a hole in the centre of the front of the draw and add the brad to make a handle for the draw. For the sleeve, glue the end tabs of the sleeve together, then the sides. The draw then slides into the sleeve.
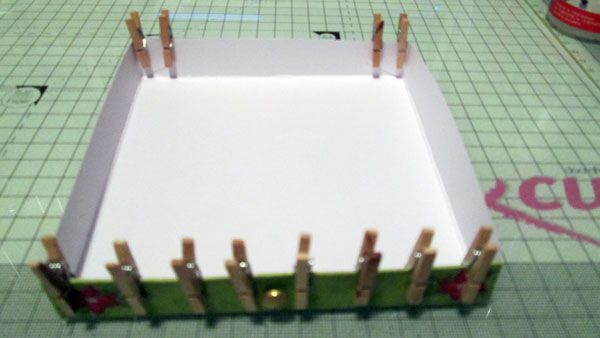 Making the Easel card drawer, holding together with mini wooden craft pegs
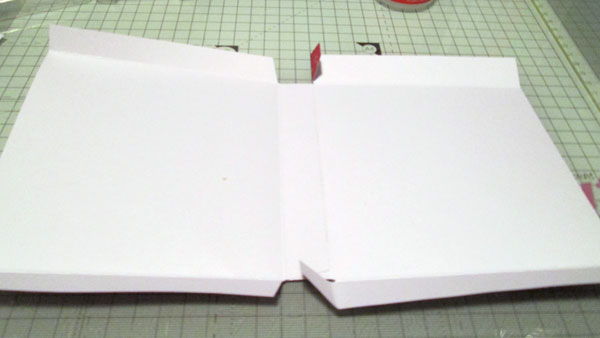 Making the drawer sleeve
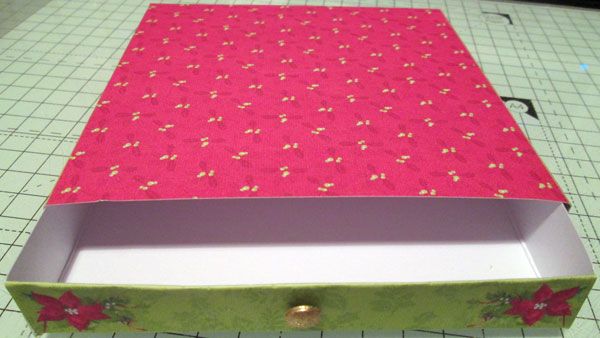 Finished Easel card drawer
6. Glue the base of the card to the top of the draw. The card then folds down flat and will sit beautifully in the box you have made for it. Add glitter and gems if you wish.
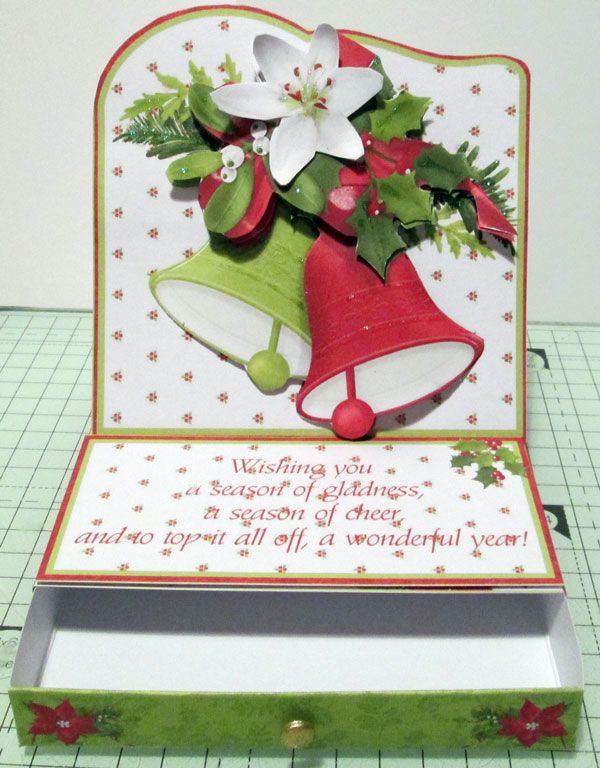 Finished Easel card with gift drawer
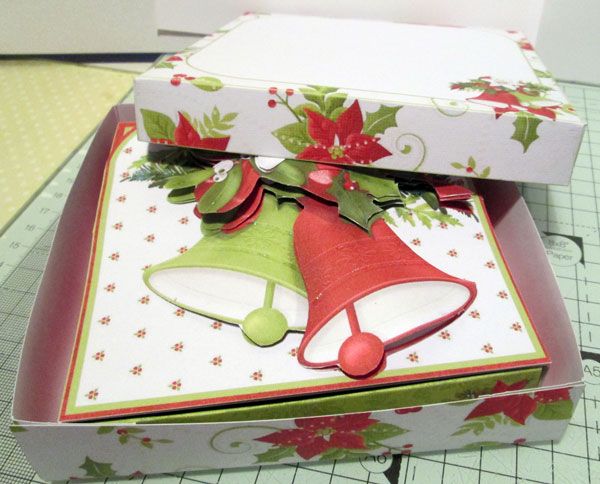 Easel card folded flat into it's box
Extra Ideas for this Card Kit
ℹ️ Sell What You Make - you may Sell What You Make for charity, fundraising and personal profit in your small, home-based craft business
We like you to get as much out of your downloads as possible so a couple of other ideas to adapt this card kit would be:
- Cut the white panel of the box and stick in acetate instead for a see-through window box
- And/or print out an extra easel card base card and cut out the poinsettia’s and add the flowers as embellishments to your projects
Instant Download
Christmas Bells Easel Card with Drawer Printable Kit
Easel Card Making Tutorial (27 mins)
Debbie's card making video tutorial with handy hints and tips, for the
"Santa's Visit" Christmas Easel Card with Drawer kit
Quick Easel Card Making Tutorial (7 mins)
This quick visual tutorial is by our printables Designer, Arda Cards showing the "Hootie Holidays" Easel Card with Drawer kit, available in the Christmas Easel Card Bundle.
Visit our Not-for-Profit Printables Craft Shop
