Closing Down
Unfortunately, we're in the process of closing down Crafting4Good CIC after almost
9 years of social enterprise and impact.
Creativity is good for you, but running a busy creative nonprofit on increasingly limited resources is not. As a result the team were stretched, stressed and experiencing the very opposite of "creativity for wellbeing and mental health".
This website *may* stay online under a different name to preserve the legacy and resources created through years of funding with public money.
Easy Craft Ideas for Kids
Name Badges & Keyrings
Kids are the best craft recyclers! You can provide an easy craft activity for the younger kids just by using up bits and pieces of card, paper and craft supplies. As adults we often overthink kids activities, but from our experience they seem to just love all the odds and ends of "stuff" they can rummage about in, see what they can find, and stickers - of anything - are always a winner.
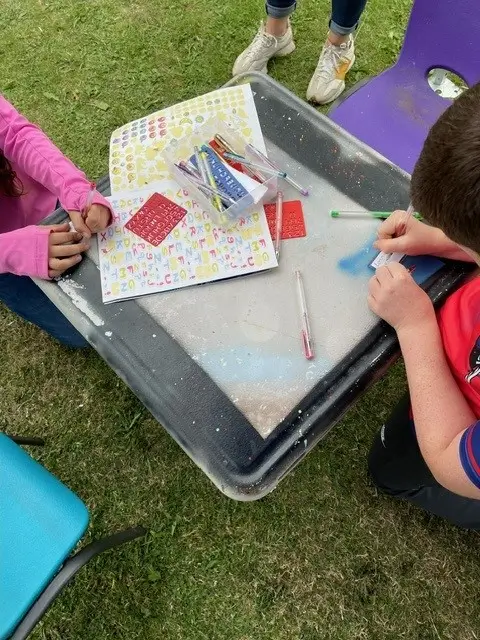
We attended the Airedale Gala along with Spectrum People, and whilst they promoted their health and wellbeing services, we focused on providing a free craft activity which was: how to make and decorate a name badge with scraps and bits and bobs - the kids loved this idea.
Read about small nonprofit fundraising with an 'Easy Gala Guide' & Checklist to download
Use What You Have
It can be tempting to overthink kids craft activities, as adults we want it to be perfect/educational etc. But, just like at Christmas when they end up playing with the boxes, we find it's quite easy to just give them lots of bits and bobs and let their imagination do the rest.
We actually met our Art Therapist at a Summer Gala when we had a stall full of odds and ends for anyone to take for free - her young son spotted some big neon stars in the box of paper scraps and that was it; lots of fun throwing them on the floor and jumping on them like stepping stones. The rest is history.
Making Name Badges & Keyrings
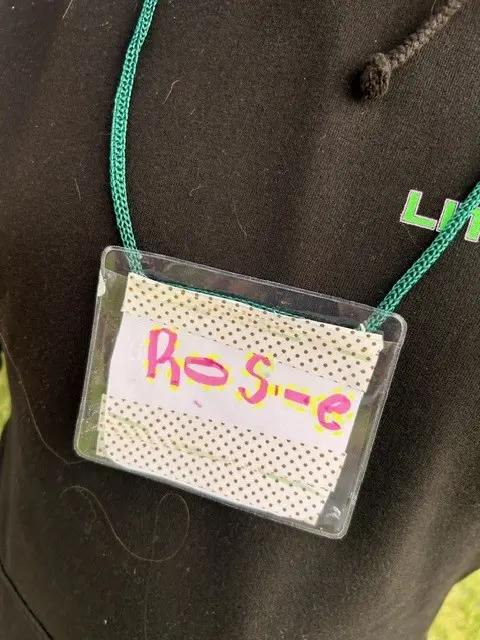
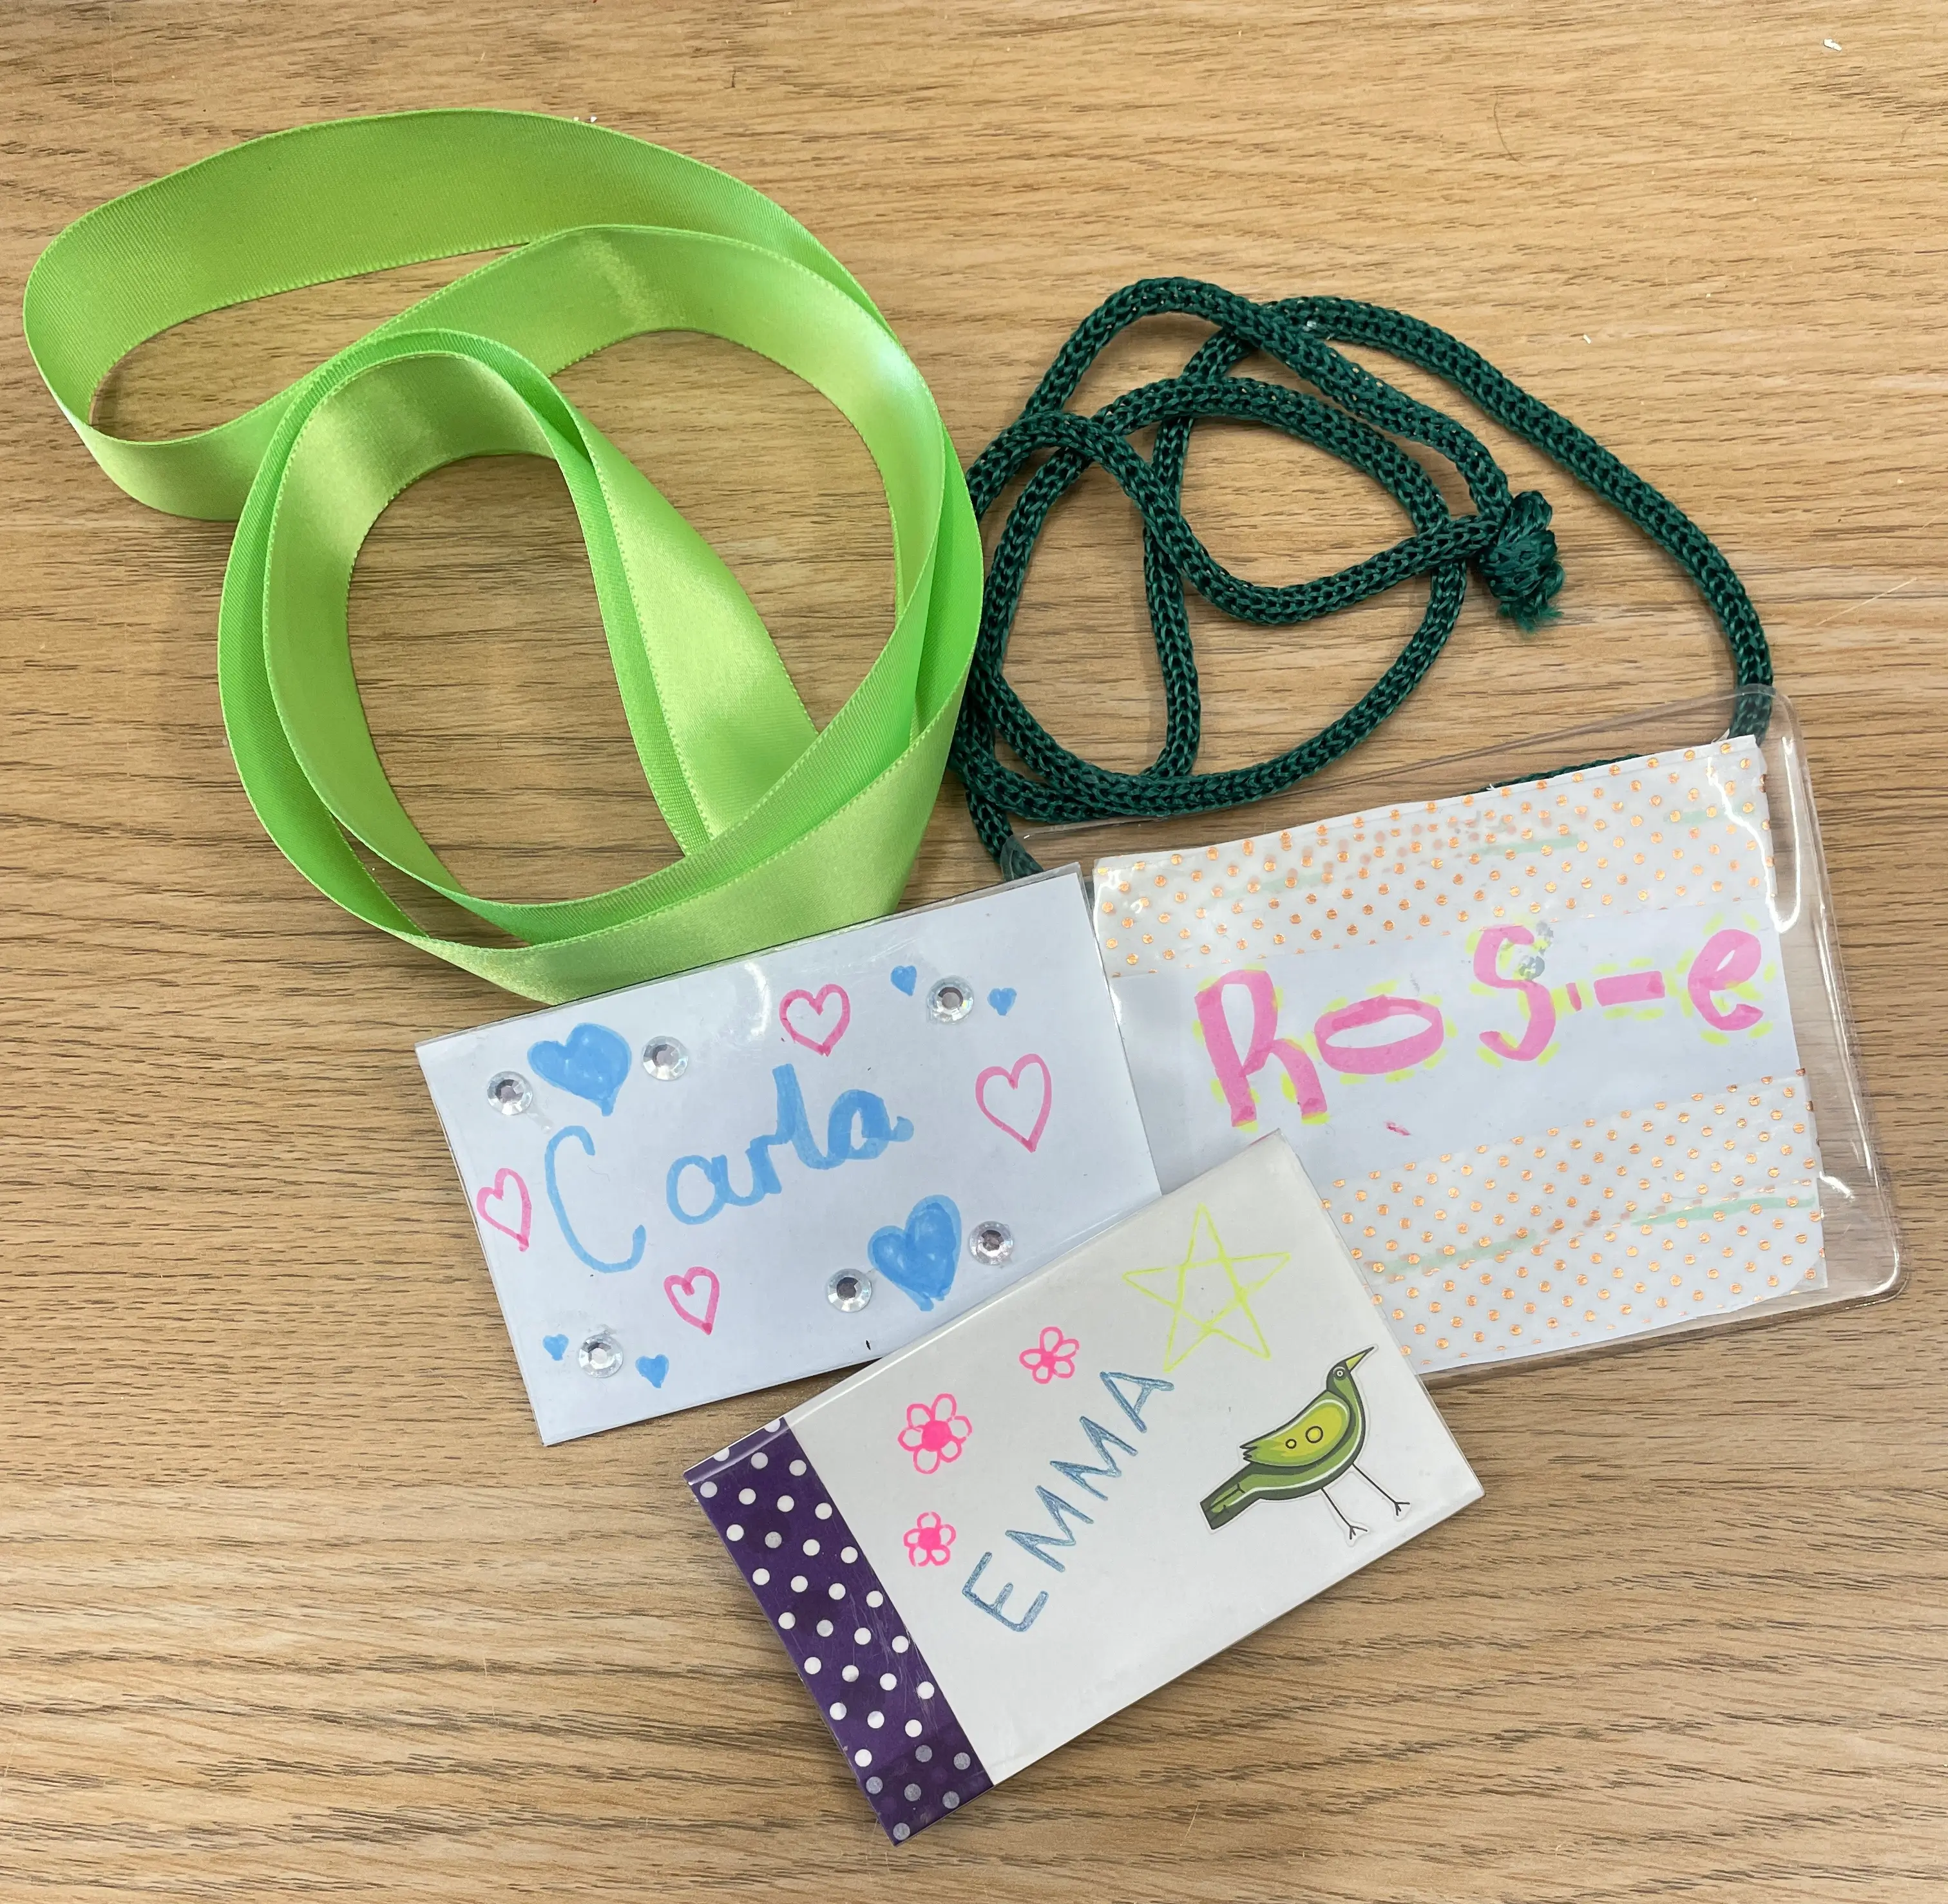 Staff and our young volunteer made name badges too
Decorate your own name badge using up art and craft supplies.
You Will Need:
- Ribbon for making lanyards (several colours)
- Card and paper (we pre-cut these to size for the gala)
- Stickers
- Alphabet and picture stencils
- Colouring pens and pencils, gel pens, crayons
- Optional: various plastic holders, recyled and/or keyring blanks
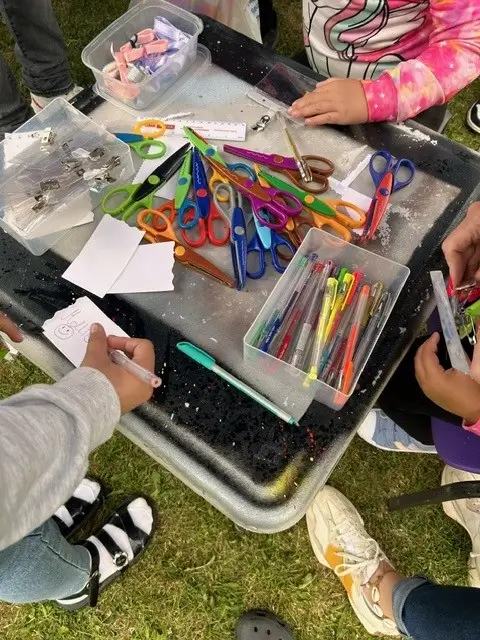
Making the Name Badge or Keyring:
- First cut a piece of card to size so that it will fit perfectly in the plastic name badge holder.
- Now the fun part: decorating it. Make sure your name is nice and large so people can see it.
- Once your name is written you can decorate all the extra space with stickers or draw some of your favourite animals or things - you can use stencils if you're not sure of your drawing abilities.
- Doodles are a great way to fill up the space with cute shapes like hearts, stars, squiggles etc.
- Use plenty of colour to show your personality on paper. You can also decorate both sides if the badge holder is clear on both sides.
- Once you've finished, and if using, slot your card into the badge holder.
- Cut some ribbon that will go around your neck and keep your badge in place. Loop the piece of ribbon through the hole and tie a secure knot to finish.
We used keyring blanks once we had run out of the recycled pass holders, which were much smaller than name badges but we reframed the experience into making these as gifts for parents or family.
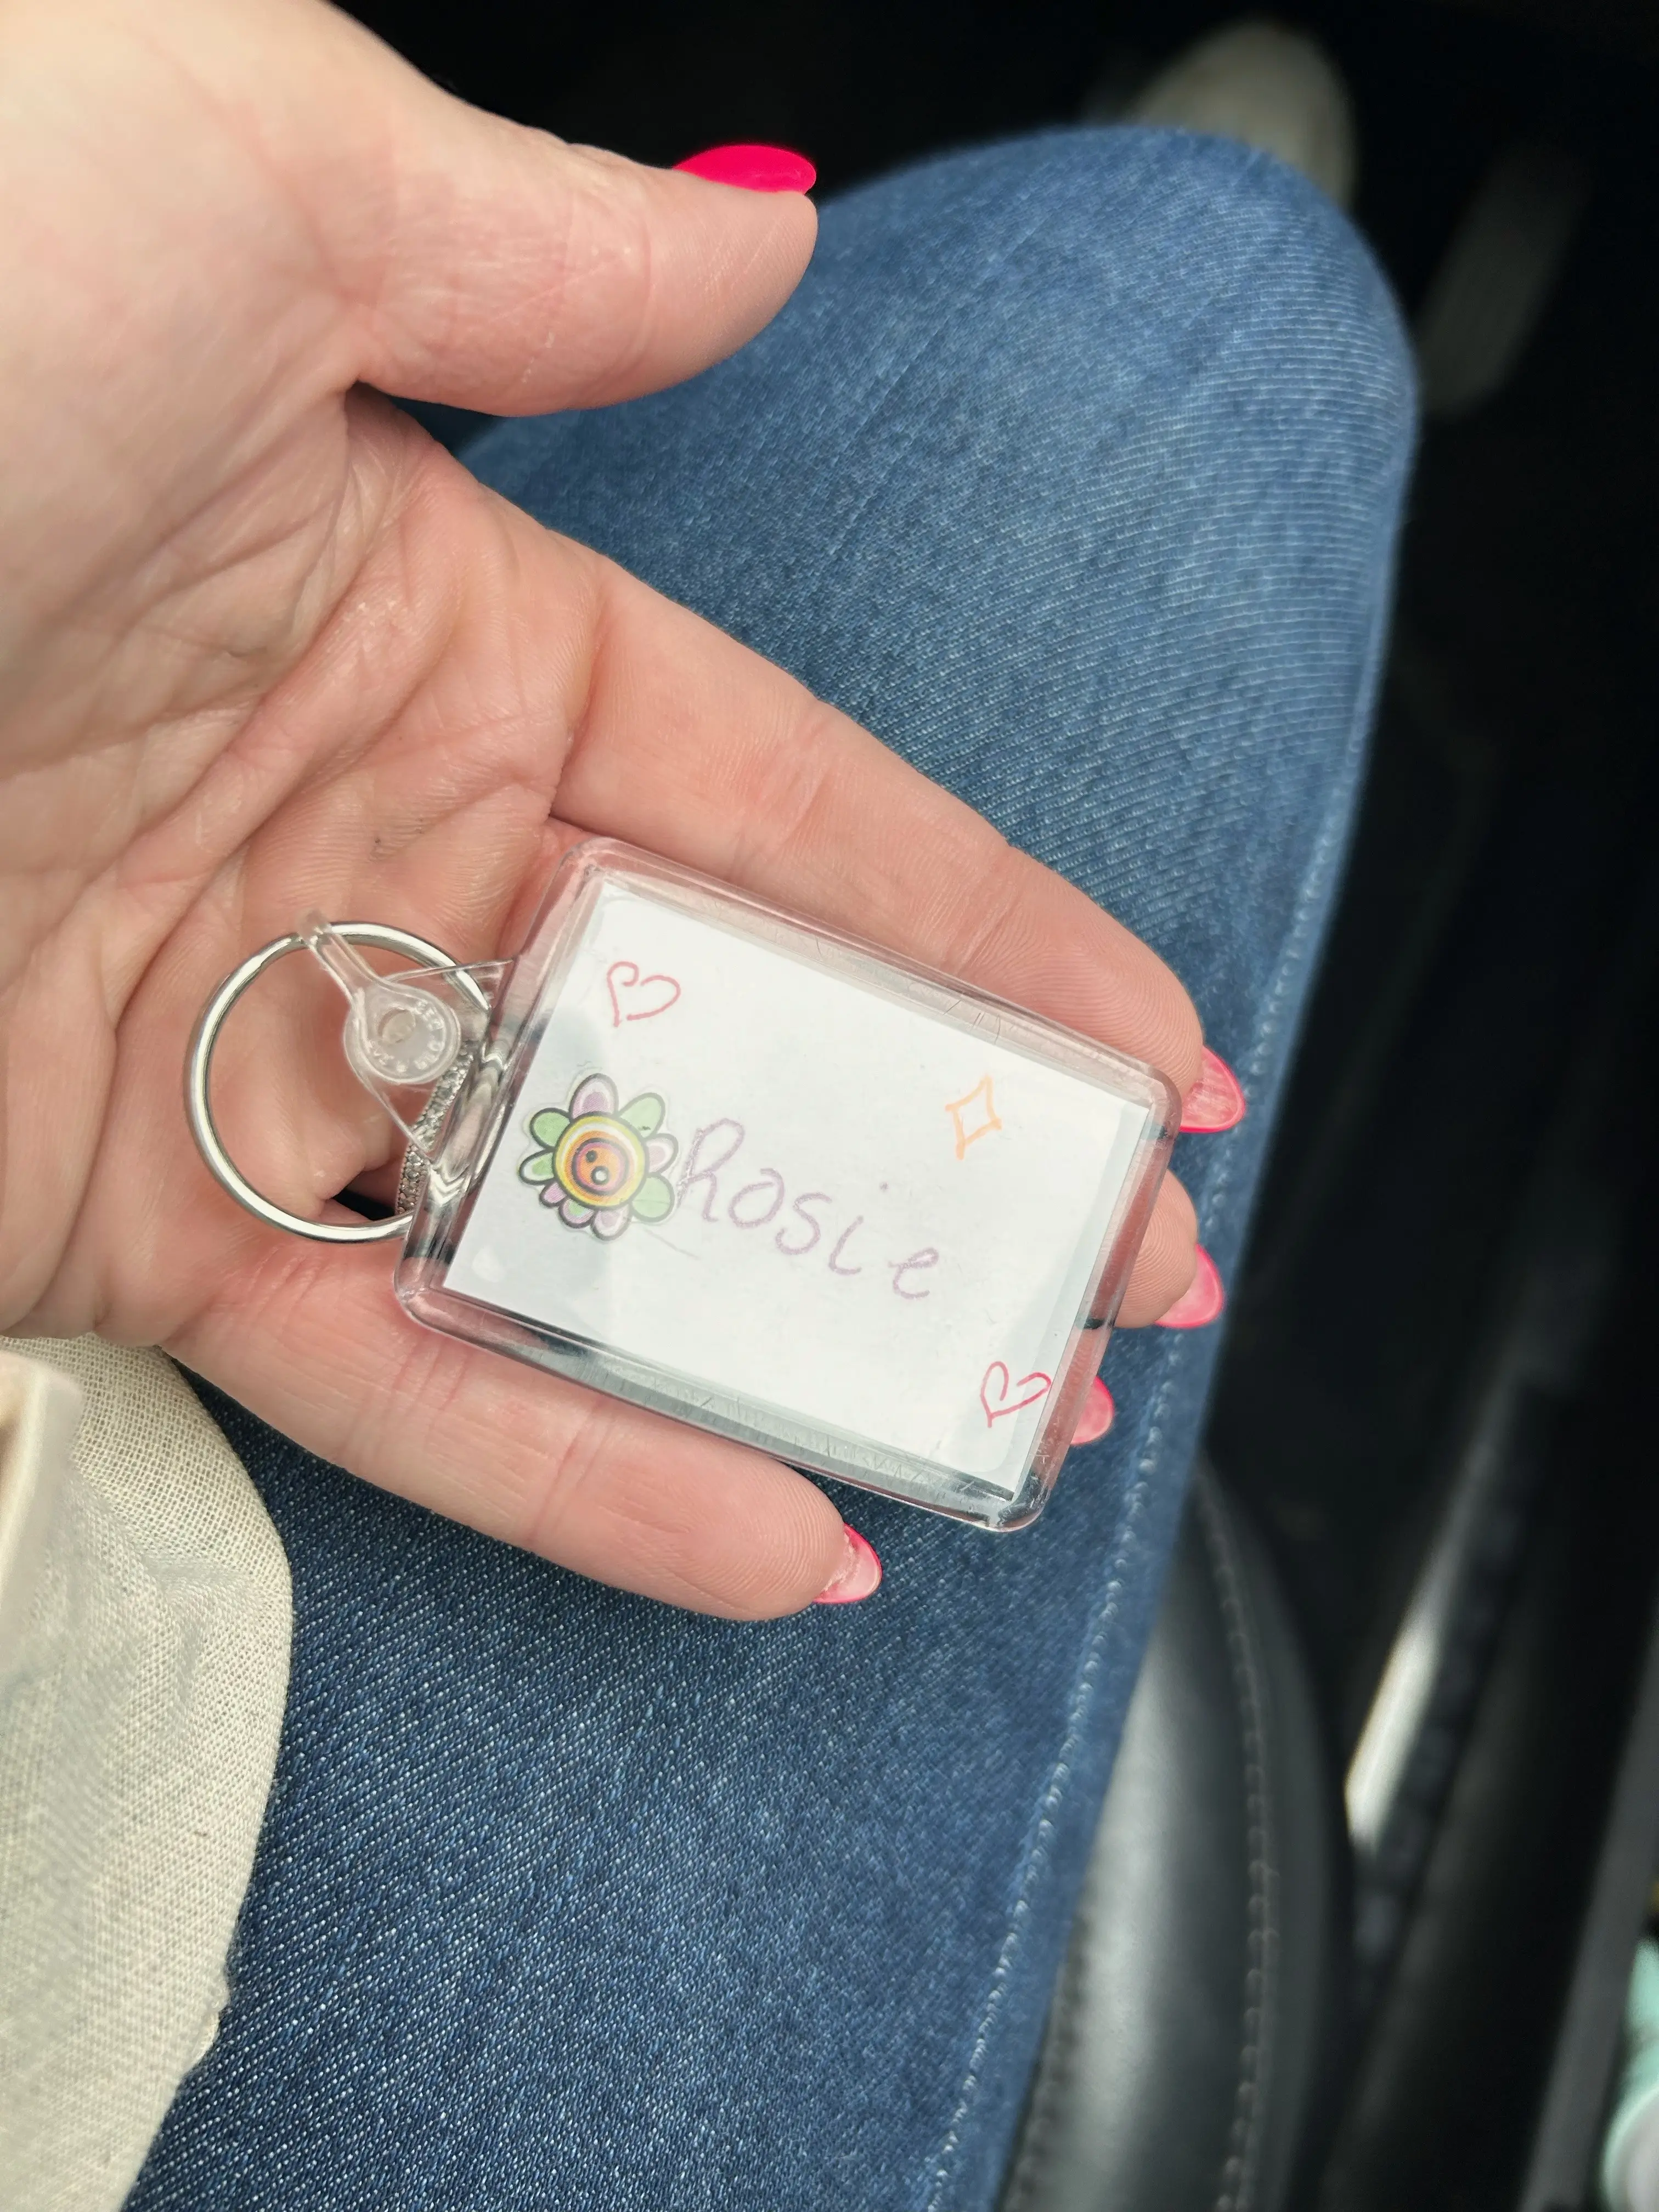
One boy made key rings for each of his dogs with their names on them.
Also, using keyring blanks would be an easy way to parcel up this activity into little craft kits to take away or provide to groups.
Further Ideas:
- Spend as little or as much time as you like on the decoration part to make this activity fit to your time scale.
- Use different things to decorate other than stickers and stencils.
- Try shaping scissors to change the outer shape of the card.
- Use glitter glue, paint or pastels if you have sufficient drying time or setting spray.
- For a very short and simple activity you could use alphabet stickers and pre-cut coloured card.
How our workshop went
We put our supplies on a kids-sized table with four chairs and got children walking past the stall to get involved. The activity was very successful and we ran out of nearly all our supplies. The amount of time it took for the kids to make the name badge was a good amount of time and they didn't get bored of doing it. Their parents or guardians chatted with us, browsed the stall and bought some more craft supplies or just spent a few minutes being free of having to keep their kids entertained!
Mother-Daughter Day
Rosie was our volunteer for the day, attending with her mum and helped out by asking passing families if they would like to take part. She also made her own name badge so folks could see what the end product would look like. Rosie was very upbeat and excited all day and really did a fantastic job of chatting to kids of all ages as well as the adults. Having her around really embodied the family-centric idea of the Gala in that mother and daughter could partake in activities and spend the day together.
